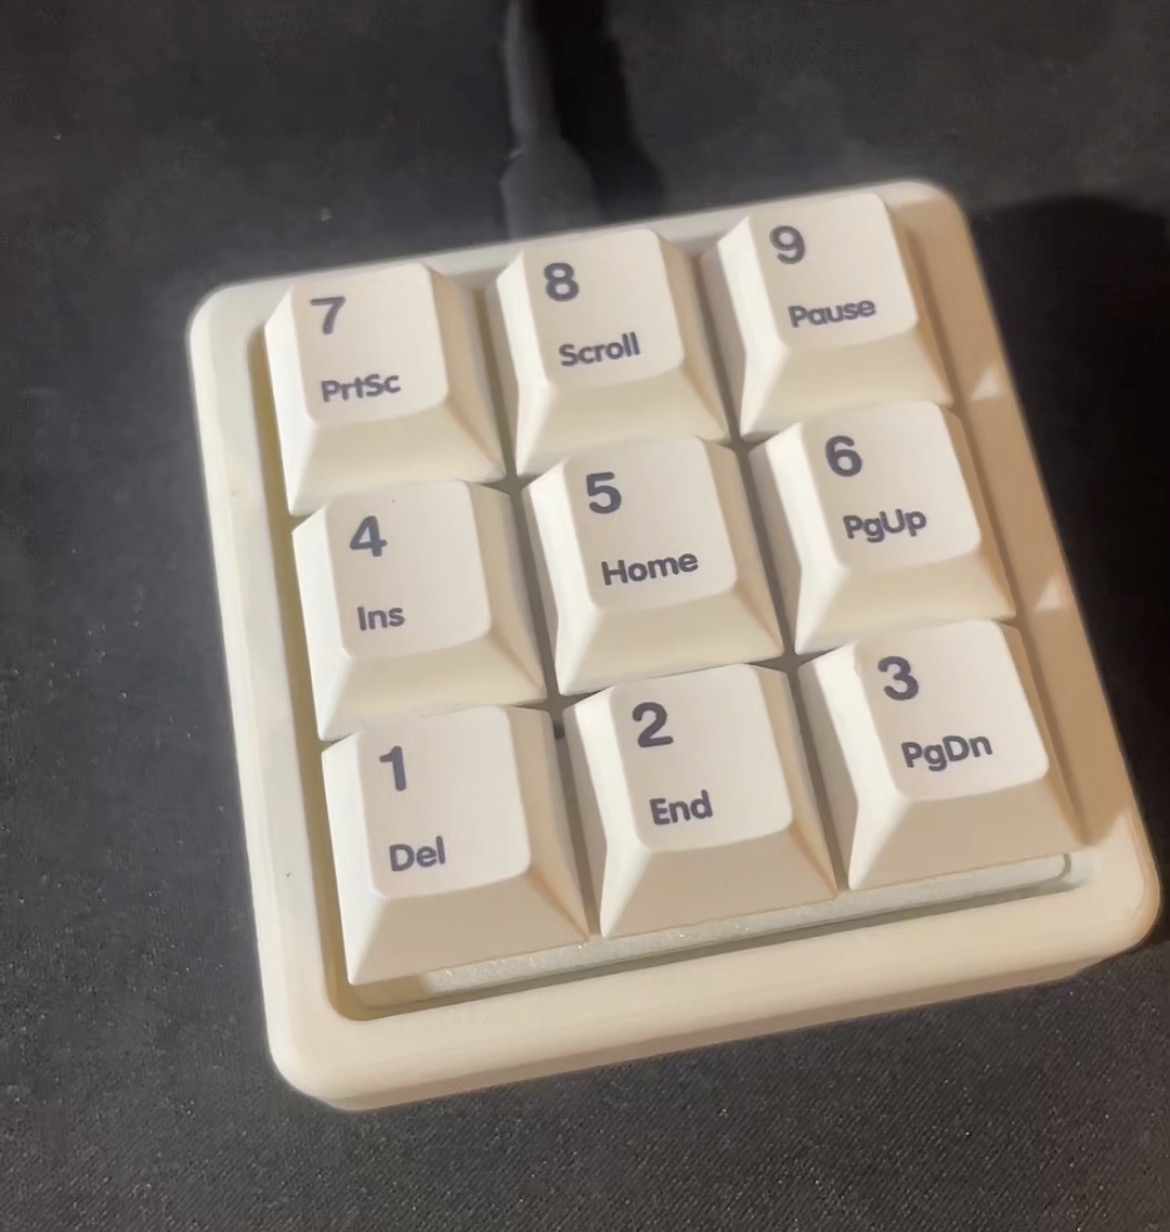
I wanted to start with a simple project that would introduce me to electronics, 3D printing, soldering, and firmware. A macropad was a good first build because it was small enough to finish, but still involved real hardware and software skills.
The goal was to build something useful instead of only doing a tutorial. I wanted a device I could actually use on my PC for shortcuts, repeated actions, and daily task automation.
I built a custom 3x3 mechanical macropad using nine Outemu Orange switches, hand-soldered wiring, firmware for USB keyboard input, and a 3D printed PLA enclosure.
The macropad acts like a small keyboard. Each switch can send a key press, shortcut, or command to the PC. This made it useful for automating tasks while also giving me a practical introduction to how simple input devices are built.
The enclosure was 3D printed in PLA and designed to hold the switches in a compact 3x3 layout. The main focus was keeping the shape simple while making sure the switches clipped in securely.
This gave me practice designing around real component dimensions, checking fitment, and understanding how small tolerance issues can affect the final assembly.
This also connected to content I had briefly touched on in ELECTENG291, where diodes were introduced as components that allow current to flow more easily in one direction than the other.
In the macropad, I used a diode in series with each switch. In a keyboard matrix, the firmware scans rows and columns to detect which switch is pressed. The diode helps control the direction of current flow so that current cannot travel backwards through other pressed switches.
Without diodes, pressing multiple keys at the same time can create unwanted current paths between rows and columns. This can make the microcontroller detect an extra key that was never physically pressed, which is known as ghosting.
By isolating each switch path, the diodes made the matrix more reliable and helped me understand how a small component can affect the behaviour of the whole circuit.
The firmware reads each switch input and sends keyboard commands to the PC using USB HID. This lets the macropad behave like a normal keyboard, but with custom shortcuts assigned to each key.
I used this project to understand how physical button presses turn into digital inputs, and how firmware can translate those inputs into useful computer commands.
The final result was a working 3x3 macropad that I now use on my PC for shortcuts and task automation. It gave me a practical introduction to electronics, soldering, firmware, and 3D printed enclosure design.
Possible upgrades include a cleaner enclosure design, custom keycaps, RGB lighting, a PCB version, or more advanced firmware with multiple layers and profiles.
A PCB version would be the most useful next step because it would make the wiring cleaner, easier to assemble, and more reliable than hand-soldered connections.